
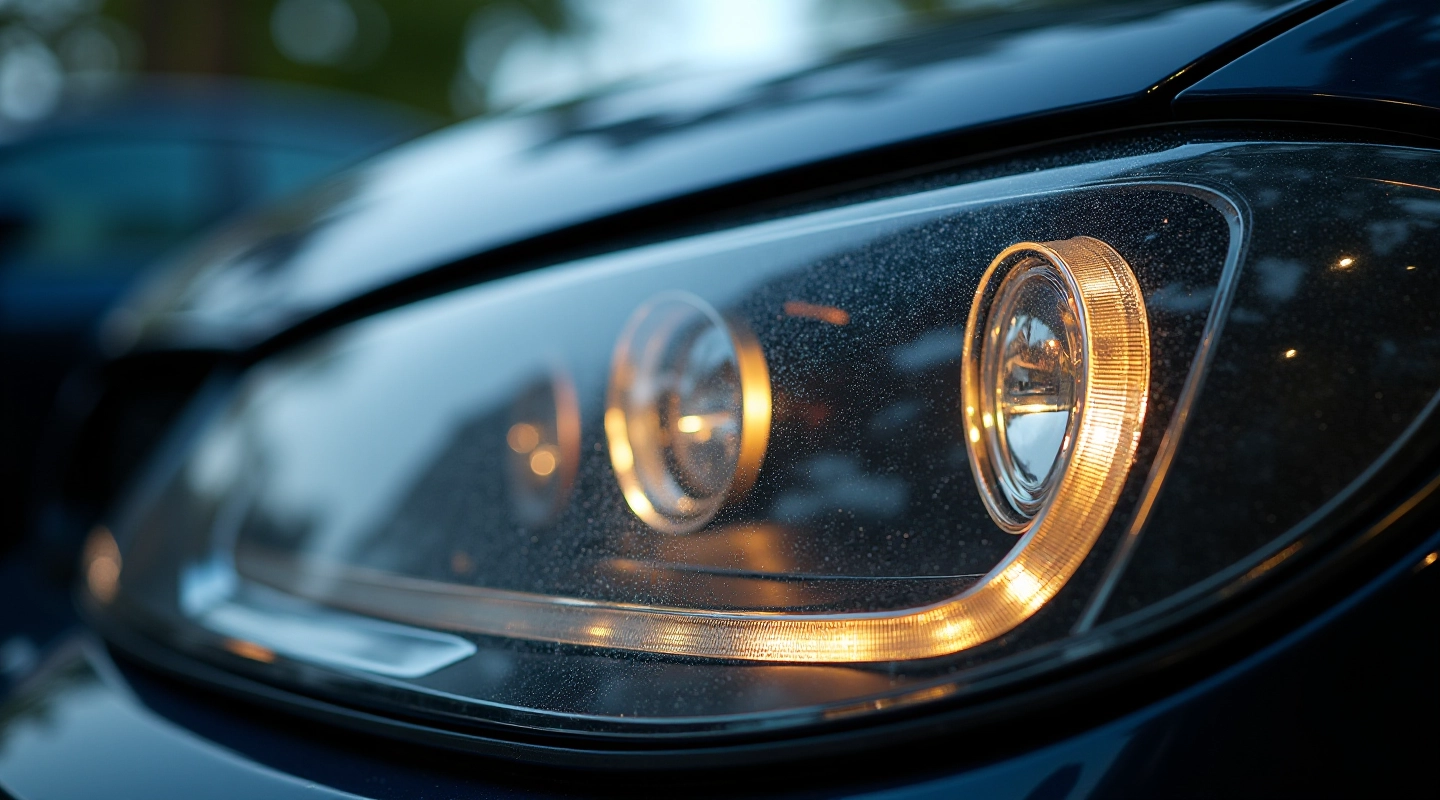
Why Headlights Get Cloudy and What Causes It
Understand the science behind lens oxidation. UV rays, moisture, and age all play a role in headlight degradation.
Read moreQuick fixes might work temporarily. Professional polishing and UV sealant provide lasting results. Here's what each method actually delivers.
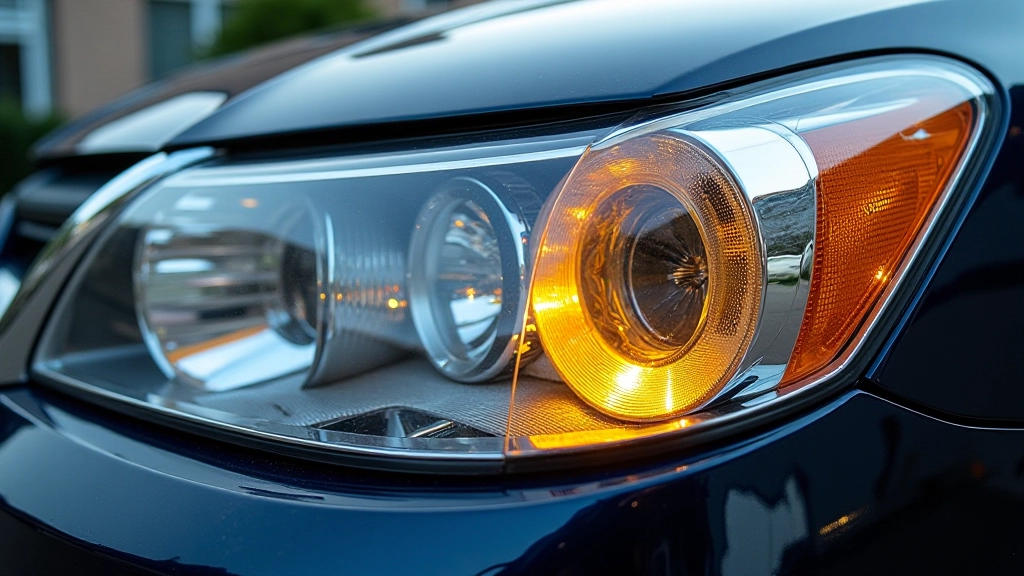
Your headlights are cloudy. You can see it clearly — that haze that's been getting worse over the last couple of years. Now you're deciding: do it yourself or call a professional?
It's a fair question. DIY kits are affordable and you can do the work on your own schedule. But there's a reason professionals charge what they do. We'll break down exactly what you're choosing between, what each approach actually delivers, and the real costs beyond just the price tag.
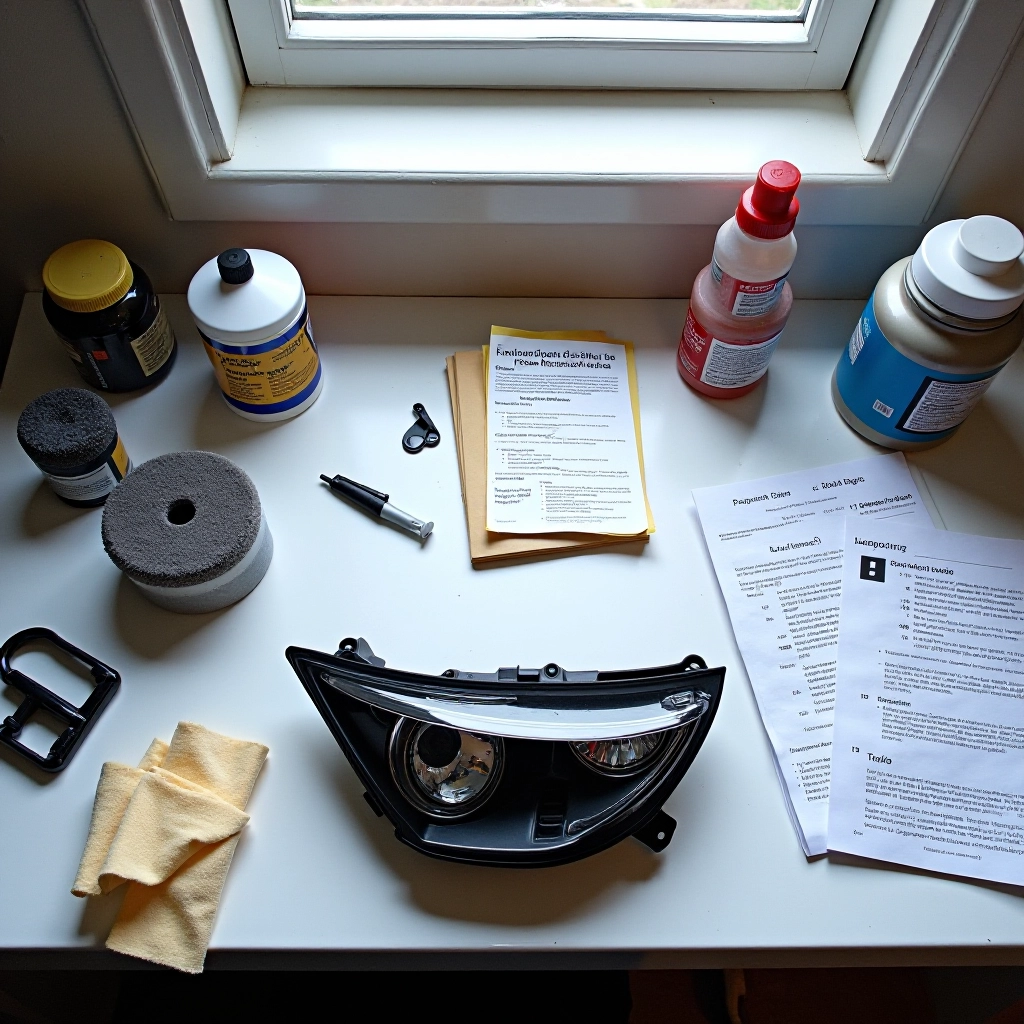
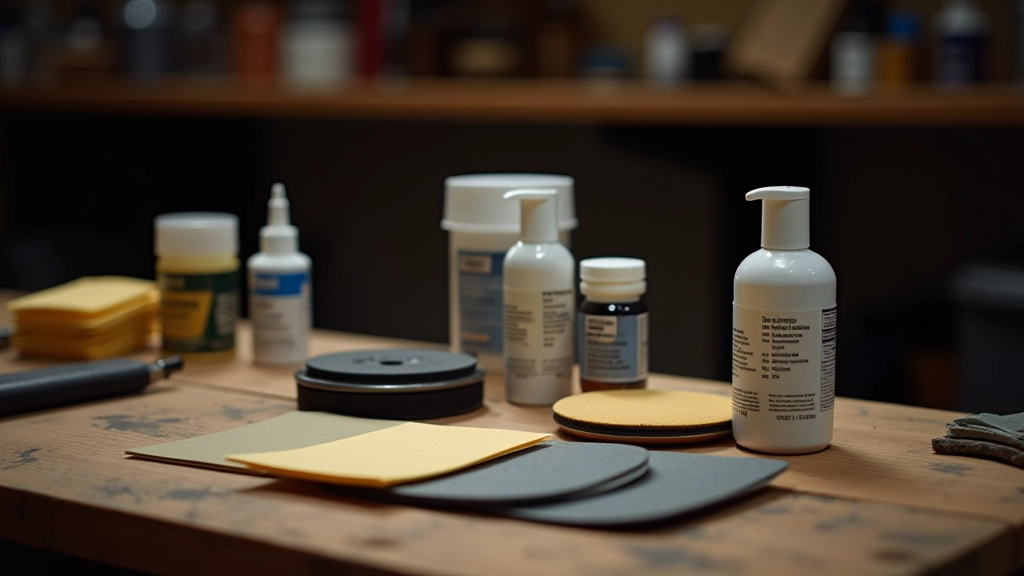
DIY kits come with sandpaper (usually 600, 1000, and 2000 grit), rubbing compound, polish, and maybe a UV protectant spray. You'll spend 30 minutes to an hour per headlight sanding by hand, then buffing with the compound and polish.
It's not complicated work. You can get decent results if you're patient and careful. The headlight will look noticeably clearer than before — that's real. But there are real limitations.
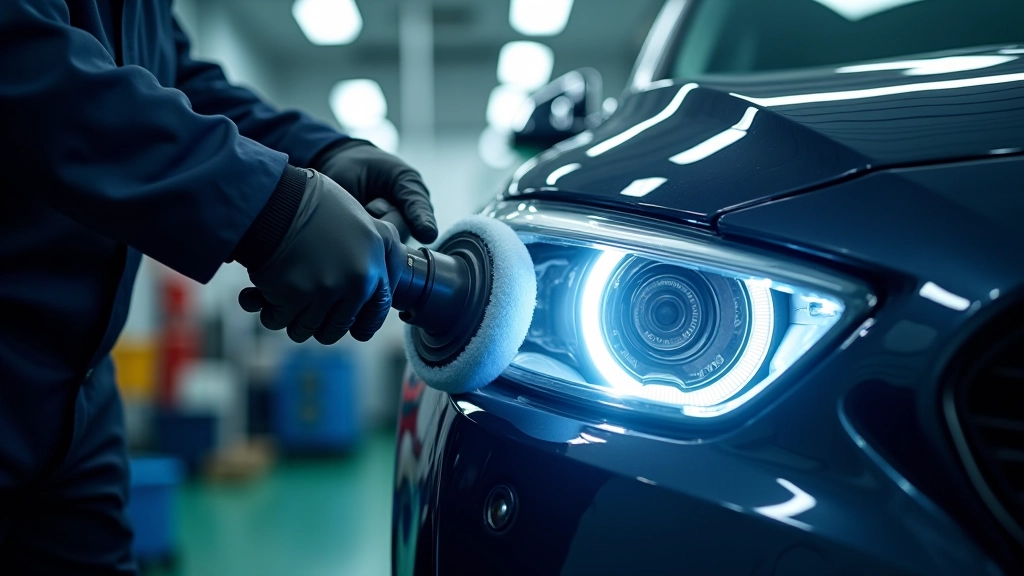
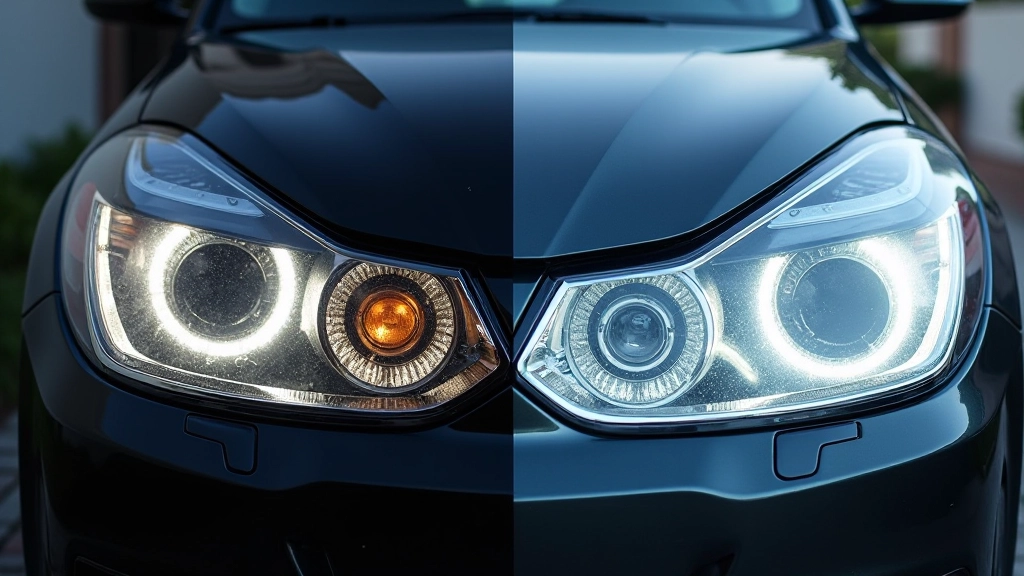
Professionals use rotary polishers, multiple grit progressions, and professional-grade polishing compounds. But more importantly, they finish with a UV-resistant coating or sealant that's applied under controlled conditions.
The process takes about 45 minutes to an hour per headlight. The technician will assess the lens condition first, choose the right grit sequence, use proper technique with even pressure, and apply the sealant to cover the entire lens surface — including edges.
This article is informational and educational. Headlight restoration results vary depending on lens condition, material, age, and environmental factors. Neither DIY nor professional restoration is guaranteed to prevent future clouding — both methods provide protection and clarity that requires ongoing maintenance. Always consult your vehicle's manual for recommended maintenance practices, and consider professional assessment if you're unsure about your headlight condition.
DIY
1-2 hours per headlight. Your time, your schedule.
Professional
45 minutes to 1 hour per headlight. Drop-off service available.
DIY
Good results if technique is careful. Some inconsistency possible.
Professional
Uniform clarity. Consistent across entire lens surface.
DIY
3-6 months with spray protection. Reapplication needed regularly.
Professional
2-3 years with quality UV sealant. Warranty included.
Choose DIY if you don't mind regular maintenance, you've got time on a weekend, and you're willing to accept slightly variable results. It's a solid option for headlights that aren't severely clouded yet, or if you're doing this for the first time and want to see how it goes.
Choose professional if you want it done once and have it stay clear for years, you value your time, or your headlights are heavily oxidized. The longer-lasting protection and warranty peace-of-mind are worth it for most people.
One more thing: don't wait too long either way. Headlight degradation accelerates once it starts. Whether you're doing it yourself or calling someone, addressing cloudy headlights sooner means better final results and less restoration work needed.
Understand the science behind lens oxidation. UV rays, moisture, and age all play a role in headlight degradation.
Read more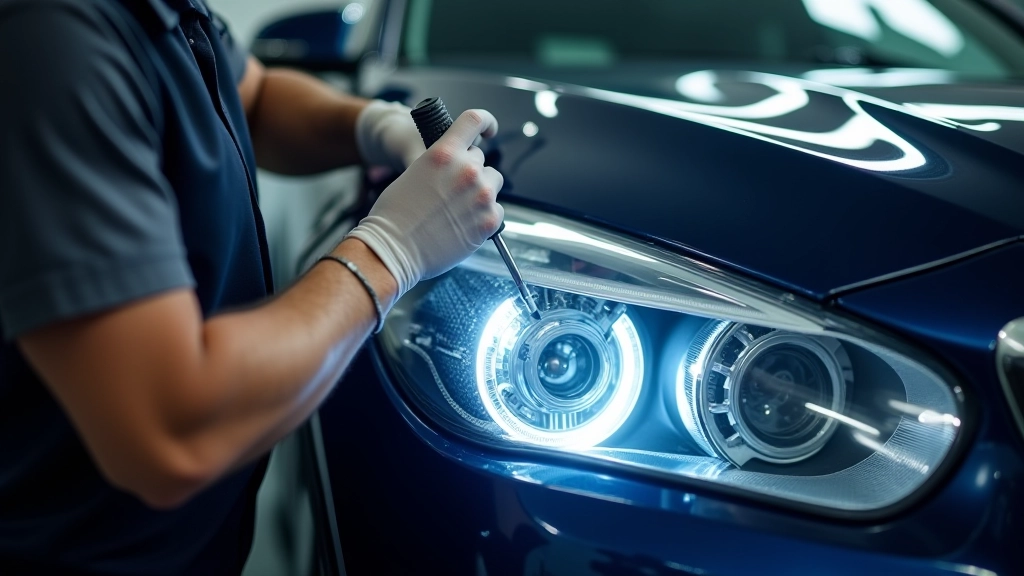
A quality UV sealant is what keeps your restored lenses clear for years. We'll explain how it works and why it matters.
Read more
After restoration, simple habits can help protect your lenses. Regular cleaning, parking in shade, and seasonal checks all help.
Read more